The Case of the Broken Telescope. 🕵🏼♀️
Hello, comrades!
Today, we are launching a series of articles detailing our very first project: repairing a telescope tripod mount. We don’t roll the easy way, so we’re taking a slightly unconventional approach to this task. Sure, we could just measure the intact part and recreate the model from those dimensions, but we are going to do things a bit differently.
Along the way, you’ll get a closer look at my personal approach to 3D modeling and the techniques I use.
Part 1: The Investigation Beginsy (Choosing the Optimal Solution).
A dark night fell over the city. Stars burned in the sky like the eyes of mythical creatures hidden within the canopy of a fairytale forest. I was alone in my workshop office when a sudden knock came at the door…
That’s how a great detective novel might begin. Instead, it was the beginning of our very first telescope repair case using additive manufacturing. A broken Levenhuk Skyline 70×700 AZ telescope had just landed on our desk.
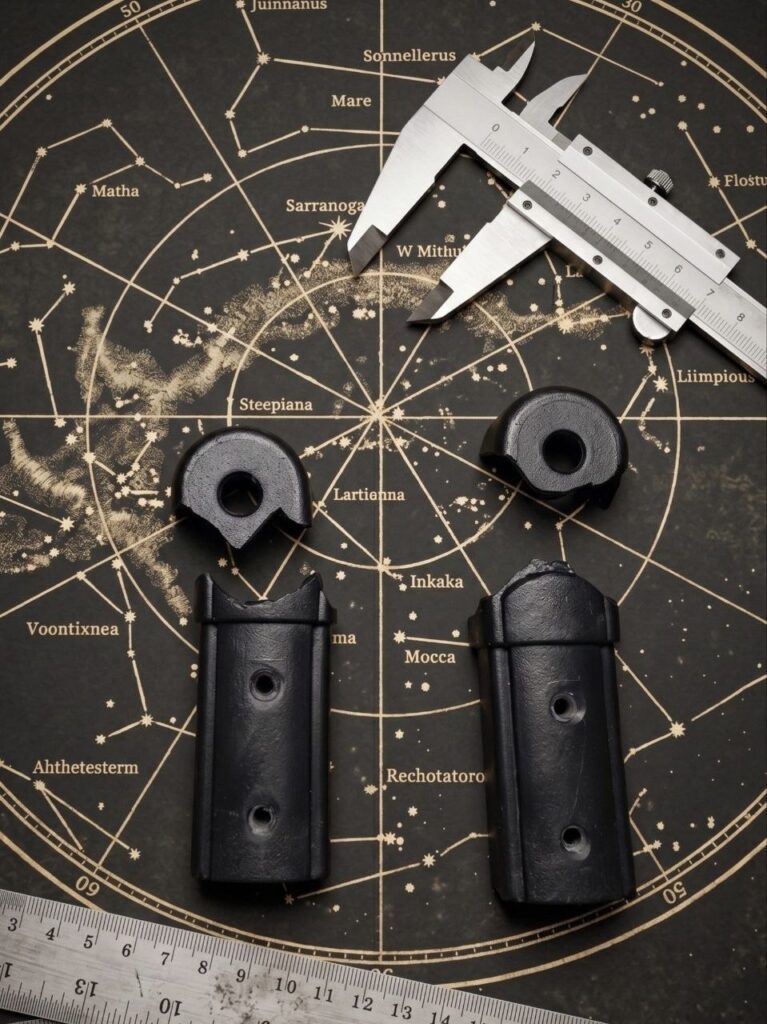
Sure, reverse-engineering the broken part in SolidWorks (or any other CAD software) wouldn’t be a massive challenge, and we’ll definitely get to that. But first… we are going to fully scan the intact section using a Creality Raptor 3D scanner! I bet you’re intrigued.
There’s another plot twist waiting for us in the next chapter….